Choosing the right quality for photo conversion
Quality settings control how much processing power goes into converting your photo. Higher quality means better results, especially for complex images, but takes longer and uses more credits.
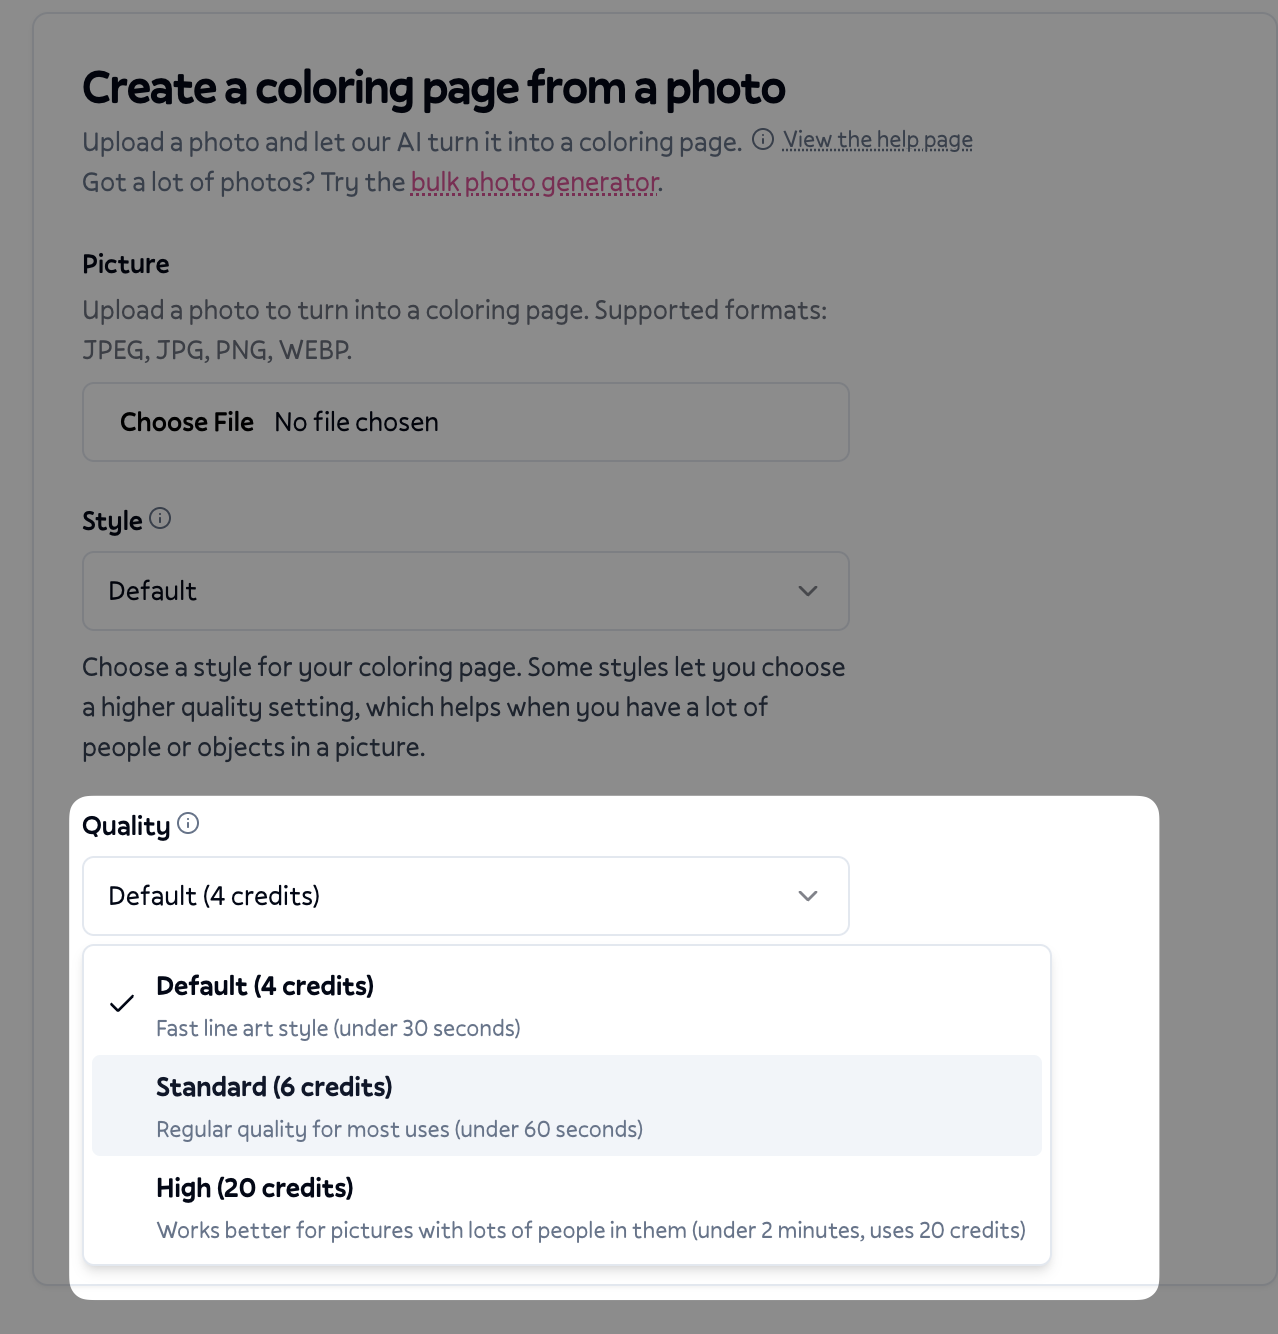
The three quality levels
Fast (4 credits)
Fast quality is designed for quick tests and simple images. It processes in under 30 seconds and works well for:
Photos with a single clear subject
Simple portraits with good lighting
Testing whether a photo will convert well before committing more credits
Limitations: Fast quality uses a simpler AI model that may miss fine details, struggle with multiple people, or produce less defined lines. It only works with the default style.
Standard (6 credits)
Standard quality is the sweet spot for most photos. It processes in under 60 seconds and handles:
Most portraits and pet photos
Scenes with moderate complexity
Photos where you want cleaner, more defined lines
Best for: Everyday use when you want good results without waiting too long or spending too many credits.
High (20-30 credits)
High quality uses our most advanced processing and takes up to 2 minutes. Choose this for:
Photos with multiple people (group shots, family photos)
Complex scenes with lots of detail
Images where you need the cleanest possible lines
Professional or print-quality results
Common issues and solutions
"The lines are messy or unclear"
This usually means the photo needs more processing power than fast quality provides. Try standard quality for cleaner line definition, or high quality for complex images.
"Faces don't look right"
Facial features are tricky to convert. Fast quality often simplifies faces too much. Standard quality handles single faces well. For group photos with multiple faces, high quality makes a noticeable difference.
"Small details are missing"
Fast quality prioritizes speed over detail preservation. If your photo has important small elements (jewelry, patterns, text on clothing), standard or high quality will capture more of them.
"The background is too busy"
Complex backgrounds challenge all quality levels, but higher quality handles them better. You can also try cropping your photo to focus on the main subject before uploading.
Choosing the right quality
Testing a photo quickly → Fast
Single person portrait → Standard
Pet photo → Standard
Two people → Standard or High
Group photo (3+ people) → High
Detailed scene → High
Professional or print use → High
Quality affects the AI model
Behind the scenes, each quality level uses a different AI model:
Fast uses a lightweight model optimized for speed
Standard uses a more capable model that balances quality and time
High uses our most advanced model with the best detail preservation
This is why results can look noticeably different between quality levels, not just slightly better.
Tips for better results at any quality
Even with higher quality settings, your source photo matters:
Good lighting helps the AI identify edges and details
Clear focus on your subject produces cleaner lines
Contrast between subject and background improves separation
Resolution matters less than clarity, but very small images may not convert well
Credits and value
Think of quality settings like printing options:
Fast (4 credits): Draft quality, good for previews
Standard (6 credits): Regular quality, good for most uses
High (20-30 credits): Premium quality, best possible results
If you're unhappy with fast quality results on a particular photo, trying standard quality (just 2 more credits) often solves the issue. Save high quality for photos that really need it.
Getting help
If you're still not getting the results you want after trying higher quality settings, email help@colorbliss.com with:
The original photo you uploaded
The quality and style settings you used
What you expected vs what you got
I can help identify whether a different setting would work better or if the photo itself might need adjustments before conversion.